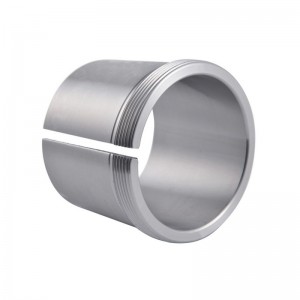
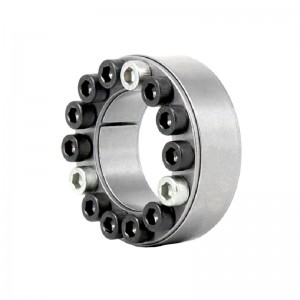
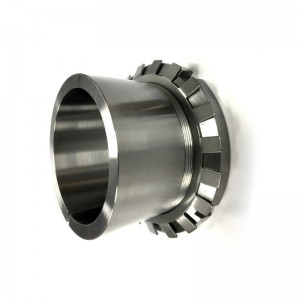
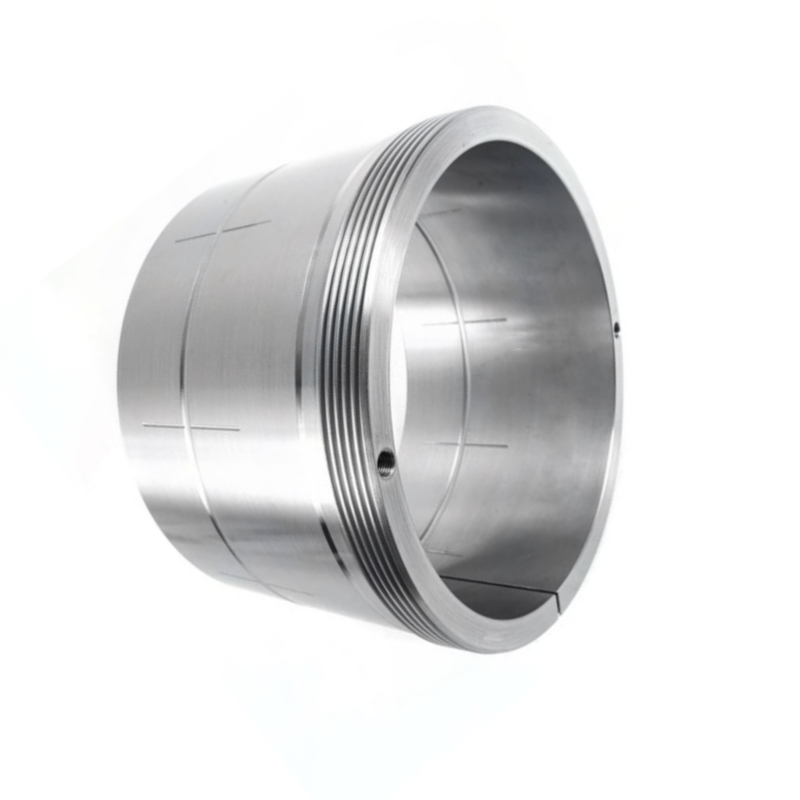
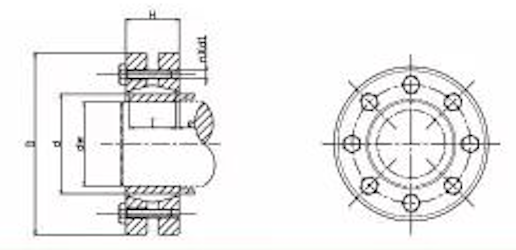
Z7C type locking assembles

Preparation before connection
1. The dimensions of the shaft and hole of the coupling shall be tested using the gauges specified in GB1957-81 “Smooth Limit Regulations”, or according to the methods specified in GB3177-82 “Inspection of smooth Workpiece Dimensions”.
2. The combined surface must be free of dirt, corrosion and damage.
3. Evenly apply a layer of lubricating oil (not containing molybdenum sulfide additives) on the clean expansion sleeve surface and the combination surface of the binding part.
Expansion sleeve installation
1. Push the connected part onto the shaft so that it reaches the position specified in the design.
2. Smoothly insert the expansion sleeve of the loose screw into the connecting hole, to prevent the inclination of the coupling, and then tighten the screw according to the method specified in tightening the screw.
Screw method
1. The expansion sleeve screws should be tightened evenly by using a torque wrench in a diagonal and cross direction.
2. Tighten the torque of the single screw according to the specified value of the expansion sleeve of each type.
3. Remove the gap before tightening the screw and tighten the screw according to the procedure.
4. The procedure for fastening screws is as follows:
a. Tighten with 1/3MA value after eliminating the gap;
b. Tighten with 1/2MA value;
c. Tighten with MA value;
d. Use MA to check all screws.
Removal of expansion sleeve
1. Loosen all the screws, but do not remove all the screws.
2. Remove the ejecting galvanized screw, screw the ejecting screw into the auxiliary screw hole of the front pressure ring, gently tap the expanded transmission member to loosen the expansion ring, and then pull out the expansion sleeve.
3. Different types of expansion sleeve, disassembly methods are also different, should fully understand its characteristics and then test disassembly, to prevent the ejection thread damage.
4. When removing the Z1 expansion sleeve, loosen the screw of the pressure plate first, and then gently tap the expanded transmission part to loosen the expansion ring, which can be removed.
Defense
1. After installation, apply a layer of anti-rust grease on the exposed end face of the expansion sleeve and the head of the screw.
2. In the open air operation or poor working environment of the machine, should be regularly on the exposed expansion sleeve end face with anti-rust grease.
3. For expansion sleeves that need to work in corrosive media, special protection (such as cover plate) should be taken to prevent corrosion of expansion sleeves.
|
Basic size |
Rated load |
Weight |
|||
|
d |
D |
dw |
Axial force Ft |
Torque Mt |
w.t |
|
Basic dimensions(mm) |
kN |
kN-m |
kg |
||
|
200 |
350 |
145 |
1291 |
93 |
50 |
|
150 |
1353 |
101.5 |
|||
|
155 |
1409 |
109.2 |
|||
|
160 |
1625 |
130 |
|||
|
220 |
370 |
165 |
1703 |
140.5 |
65 |
|
170 |
1776 |
151 |
|||
|
170 |
1835 |
156 |
|||
|
240 |
405 |
180 |
1994 |
179.5 |
87 |
|
190 |
2137 |
203 |
|||
|
190 |
2242 |
213 |
|||
|
260 |
430 |
200 |
2390 |
239 |
100 |
|
210 |
2542 |
265 |
|||
|
210 |
2686 |
282 |
|||
|
280 |
460 |
220 |
2900 |
319 |
132 |
|
230 |
3087 |
355 |
|||
|
230 |
2965 |
341 |
|||
|
300 |
485 |
240 |
3175 |
381 |
140 |
|
245 |
3273 |
401 |
|||
|
320 |
520 |
240 |
3317 |
398 |
165 |
|
250 |
3536 |
442 |
|||
|
260 |
3738 |
486 |
|||
|
340 |
570 |
250 |
4080 |
510 |
240
|
|
260 |
4307 |
560 |
|||
|
270 |
4519 |
610 |
|||
|
360
|
590
|
280 |
4707 |
659 |
250
|
|
290 |
4931 |
715 |
|||
|
295 |
5044 |
744 |
|||
|
390
|
660
|
300 |
5733 |
860 |
350
|
|
310 |
5903 |
915 |
|||
|
320 |
6063 |
970 |
|||
|
420
|
690
|
330 |
6182 |
1020 |
410
|
|
340 |
6470 |
1100 |
|||
|
350 |
6743 |
1180 |
|||
|
460
|
770
|
360 |
7222 |
1300 |
540
|
|
370 |
7514 |
1390 |
|||
|
380 |
7789 |
1480 |
|||
|
500 |
850 |
400 |
9400 |
1880 |
750 |
|
410 |
9659 |
1980 |
|||
|
420 |
9905 |
2080 |
|||